
In the fast-paced digital era, efficient data management is crucial for individuals and businesses alike. Google Sheets, a powerful spreadsheet application, offers a user-friendly platform for organizing, analyzing, and collaborating on data. Whether you’re a spreadsheet novice or looking to enhance your skills, this step-by-step guide will help you unlock the full potential of Google Sheets.
Step1: Access Google Sheets:
- Open your web browser and navigate to Google Sheets by typing “sheets.google.com” in the address bar.
- Sign in with your Google account or create one if you don’t have it.
Step2: Create a New Spreadsheet:
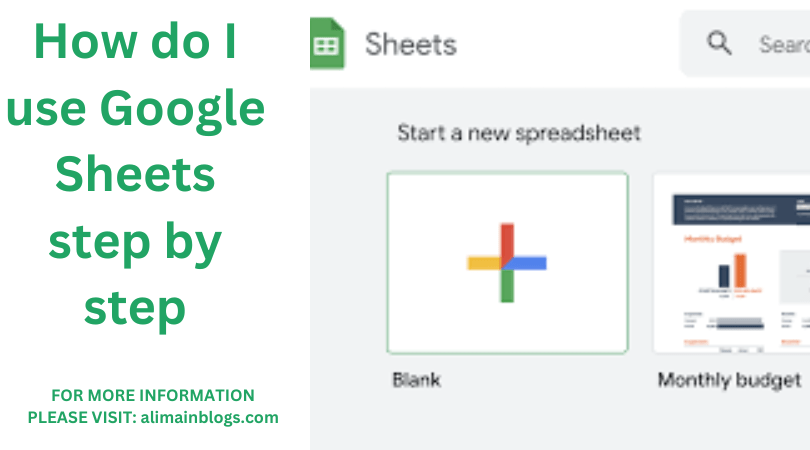
- Once signed in, click on the “+” button to create a new spreadsheet.
- You can also access templates or import existing spreadsheets from your device.
Step3: Understand the Interface:
- Familiarize yourself with the menu bar, toolbar, and sidebar.
- Sheets are organized into rows and columns, identified by letters (columns) and numbers (rows).
Step4: Data Entry and Formatting:
- Enter data into cells by clicking on them and typing.
- Use the toolbar to format text, merge cells, and apply cell borders.
Step5: Formulas and Functions:
- Master basic formulas like SUM, AVERAGE, and COUNT.
- Explore advanced functions like VLOOKUP and IF statements for more complex calculations.
Step6: Data Visualization:
- Create charts and graphs to visualize your data.
- Customize charts by clicking on them and using the Chart Editor.
Step7: Sorting and Filtering:
- Sort data alphabetically or numerically by selecting a column and using the “Sort” option.
- Apply filters to display specific data based on criteria.
Step8: Collaboration and Sharing:
- Click on the share button to collaborate in real-time with others.
- Set permission levels for collaborators – view, comment, or edit.
Step9: Data Import and Export:
- Import data from external sources using the “Import” functions.
- Export your spreadsheet in various formats like PDF or Excel.
Step10: Advanced Tips and Tricks:
- Explore add-ons for additional functionalities.
- Use keyboard shortcuts to increase efficiency.

By following this step-by-step guide, you’ve laid the foundation for mastering Google Sheets. Remember, practice is key. Experiment with different features, and soon you’ll find yourself confidently managing data, creating insightful reports, and collaborating seamlessly with others. Google Sheets is a versatile tool that can significantly enhance your productivity and decision-making processes.

1. How do I create a new spreadsheet in Google Sheets?
- Open your Google Drive.
- Click on the “+ New” button on the left-hand side.
- Hover over “Google Sheets” and select “Blank spreadsheet.”
2. How do I enter data into a cell in Google Sheets?
- Click on the cell where you want to enter data.
- Type the data and press “Enter” on your keyboard.
3. How do I format cells in Google Sheets?
- Highlight the cells you want to format.
- Right-click and choose “Format cells” from the menu.
- Adjust formatting options like font, color, and alignment.
4. How can I create a formula in Google Sheets?
- Click on the cell where you want the result.
- Start with “=” to indicate a formula.
- Enter the formula (e.g., =SUM(A1:A10) for summing cells A1 to A10).
5. How do I create a chart in Google Sheets?
- Select the data range you want to include in the chart.
- Click on “Insert” in the menu.
- Choose “Chart,” and select the chart type (bar, line, pie, etc.).
6. How can I filter and sort data in Google Sheets?
- Select the range of cells you want to filter or sort.
- Click on the “Data” menu.
- Choose “Filter” to enable filter options, or select “Sort range” to sort the data.
7. How do I share my Google Sheets with others?
- Click on the “Share” button in the top right.
- Enter the email addresses of the people you want to share with.
- Choose their permissions (view, comment, or edit) and click “Send.”
===================
FOR MORE INFORMATION PLEASE VISIT: alimainblogs.com